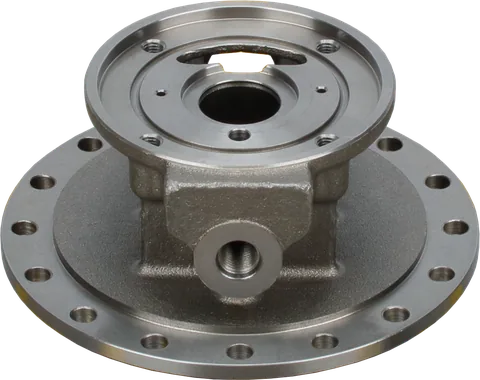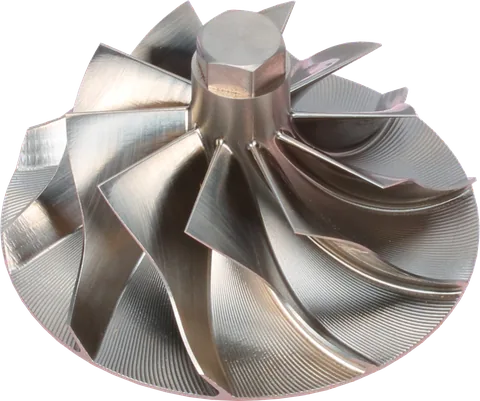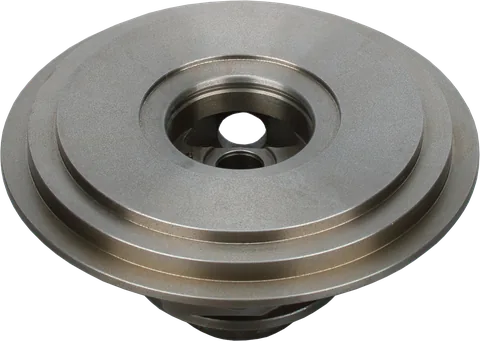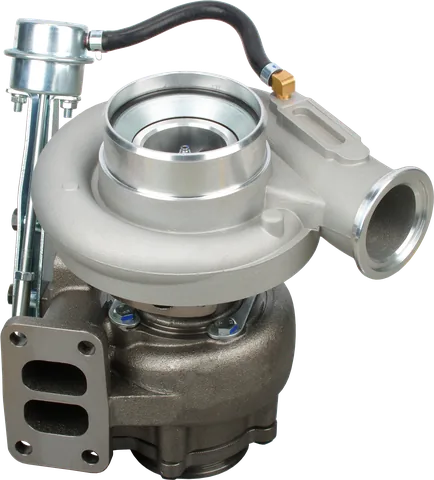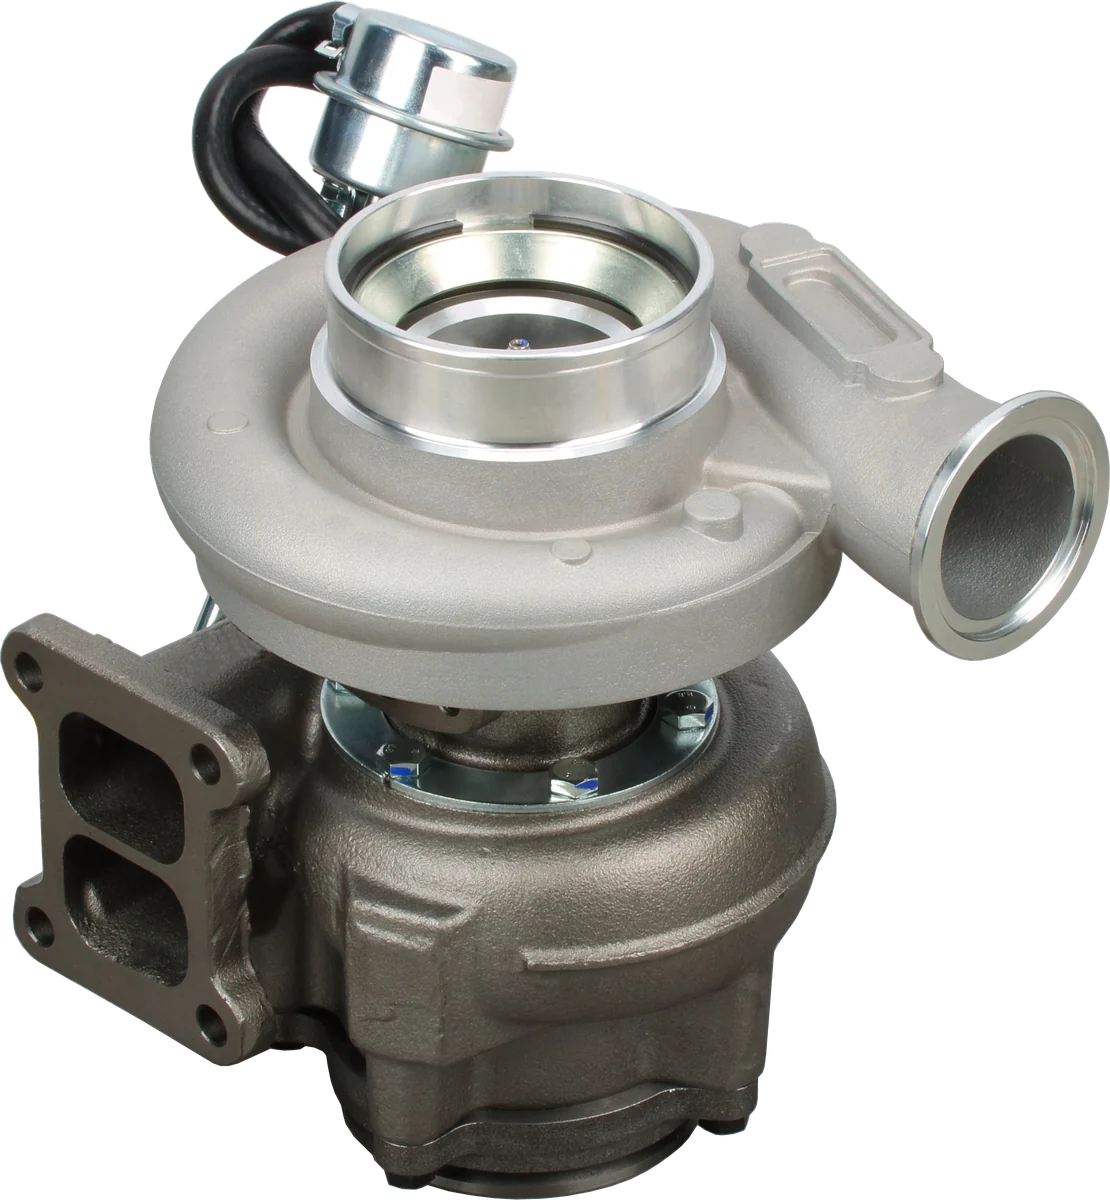
Follow this diesel turbocharger installation procedure for a new, remanufactured, or rebuilt unit on a truck, bus, pickup, loader, tractor, marine engine, or generator set. Keep the engine service manual and the turbo supplier’s instructions beside the work order. They determine the oil specification, tightening procedure, torque values, priming requirements, and any actuator setup for that application.
Before replacement turbo installation: prepare the engine
Write down why the previous unit was removed and what corrected the underlying problem. A damaged turbo can be the result of a fault elsewhere in the engine system. Complete that repair before fitting its replacement. This checklist covers installation readiness; detailed failure diagnosis belongs earlier in the job.
Match the replacement identification to the engine application. Record the engine model and serial number, the old turbo identification, and the replacement part number. Check supplied instructions before dismantling anything on the replacement assembly.
Work through these preparation checks:
- Recover wheel debris. After a compressor or turbine wheel failure, inspect the affected intake and exhaust paths, including manifolds and ducts. Remove components as necessary to reach hidden areas. Collect recovered fragments, and clean or replace affected manifolds and ducts. Include connected charge-air components where debris may have traveled.
- Establish an oil baseline. Inspect intake and exhaust manifolds and ducting for oil already present. Photograph or record the condition before cleaning. Remove accumulated oil so it cannot confuse the next inspection or be mistaken for leakage from the replacement. Clear pooled oil before startup.
- Install a new air filter. Check the housing and intake ducting while access is available. A fresh element belongs in a clean, correctly assembled air system; replace damaged components that could admit dirt.
- Check the air-brake compressor. On equipped engines, inspect for oil carry-over and consider the actual plumbing when tracing contamination. Account for this possible oil source before attributing an oily connection to the turbocharger.
- Prepare the lubrication system. Inspect oil feed and drain lines for contamination, restriction, deformation, and damaged connections. Replace questionable lines or any lines the supplier requires replaced. Install fresh engine oil and a new oil filter using the engine’s specified products.
Keep oil-line work within the applicable installation procedure. This checklist does not replace the detailed requirements for line condition, routing, and connection preparation.
When the engine is overhauled, have the turbocharger overhauled too, or install a suitable replacement. Its bearing system may retain metal from earlier engine wear. An exterior cleaning and a rotor that turns by hand cannot establish that its internal bearings are clean.
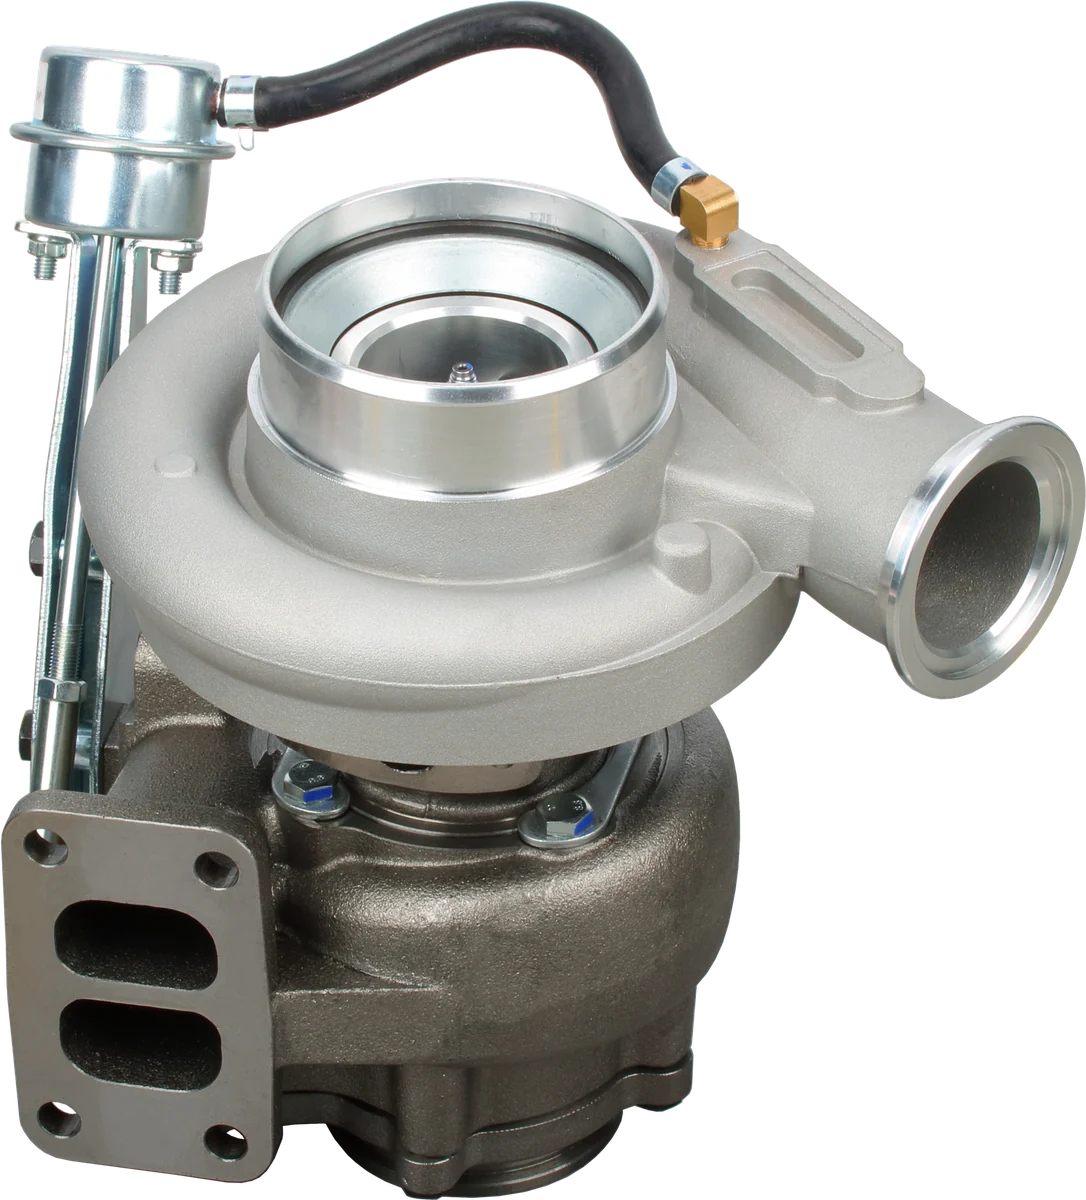
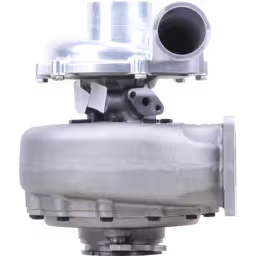
Compressor housing: guides the compressed air.
Turbine housing: guides exhaust gas to the turbine.
Actuator: check its type, linkage and calibration.
Product photograph from 2026. Numbers identify the features explained below.
During installation: lubricate, seal, and align
Keep open ports protected while preparing the installation. Remove transit caps when each connection is ready, and account for any plugs or clean coverings used during the work. Dirt introduced at the bench can defeat careful preparation elsewhere.
How to prime a new turbocharger before closing the oil connection
Introduce the specified clean oil through the turbo’s oil inlet and gently turn the rotor by hand, following the supplier’s instructions. This distributes oil within the bearing system before the engine supplies it.
Check for smooth movement without scraping or binding. Stop and resolve an abnormal feel before continuing. Hand rotation is an assembly check; it does not establish that the turbo is ready to run without the remaining lubrication and startup steps.
Complete any engine-specific procedure for establishing oil supply before combustion begins. Use the approved method for disabling starting or fueling where required.
Use the specified sealing parts
Fit new gaskets and O-rings specified for the assembly. Confirm that each seal sits correctly and leaves its passage unobstructed.
Do not apply liquid sealant to oil feed or drain flanges. Material squeezed inside the joint can restrict an oil passage. Use the specified gasket or O-ring and prepare the mating surfaces as directed. Tightening harder cannot correct an unsuitable seal or damaged flange.
Let the piping meet the turbo naturally
Position intake and exhaust connections so their mating faces meet without pulling the turbo sideways. Check brackets and supports before final tightening. If a connection needs substantial force to reach its position, resolve the alignment or fitment problem.
If the outlets face a different direction from the removed unit, stop and confirm the part number and application with the supplier. Do not re-clock the housings on your own. Obtain approved instructions for that exact assembly before changing its orientation or actuator arrangement.
Finish coolant and control connections where fitted, and complete any required electronic actuator setup. Make a final connection check against the engine configuration before starting.
After installation: control the first run
For turbocharger startup after installation, follow the prescribed procedure and hold the engine at idle for several minutes before applying load. Watch the oil-pressure indication and inspect accessible connections from a safe position. Avoid throttle blips intended to “check the turbo” during this initial period.
A brief white haze from preservative oil can be normal immediately after startup. It should diminish promptly. Persistent or increasing smoke needs investigation rather than an extended attempt to burn it off.
| First-run observation | Appropriate response |
|---|---|
| Brief white haze that clears promptly | Continue observing under the specified startup procedure. |
| Smoke persists or increases | Stop the commissioning run and investigate before loading. |
| Oil-pressure warning or unacceptable pressure | Shut down and resolve the lubrication problem. |
| Fresh oil, escaping exhaust gas, or an air leak | Stop as necessary, repair the connection, and repeat the check. |
| Scraping, binding sounds, or unusual vibration | Shut down and inspect before further operation. |
Once initial checks and warmup are complete, introduce load according to the equipment’s commissioning procedure. Arrange the first working period so the installation can be inspected again before the equipment returns to normal duty.
After that working period, return to idle and recheck for charge-air leaks, exhaust-gas leaks, and oil leaks. Look again at duct seating, supports, and connections for signs of movement or strain. Shut down and allow safe access before touching hot components or making adjustments.
For fleet equipment, schedule this return inspection before dispatch. For a generator or marine installation, plan access around the enclosure or engine space. Record the inspection result and correct outstanding defects before releasing the equipment.
Printable turbo install checklist
Keep this replacement turbo installation checklist with the work order. Mark items only after verification; identify any item that does not apply.
Unit/engine: ____________________
Turbo part number: ____________________
Technician/date: ____________________
| Done | Phase | Verification |
|---|---|---|
| ☐ | Before | Original failure cause identified and corrected. |
| ☐ | Before | Wheel-failure debris collected; affected manifolds, ducts, and connected components cleaned or replaced. |
| ☐ | Before | Existing duct oil documented and removed; pooled oil cleared. |
| ☐ | Before | Air-brake compressor checked for oil carry-over, if equipped. |
| ☐ | Before | Turbo overhaul or replacement included with engine overhaul, if applicable. |
| ☐ | Before | New air filter installed; housing and intake inspected. |
| ☐ | Before | Oil feed and drain lines inspected; required replacements fitted. |
| ☐ | Before | Fresh specified engine oil and new oil filter installed. |
| ☐ | During | Part number, orientation, and actuator requirements verified. |
| ☐ | During | Bearings pre-lubricated through oil inlet; rotor gently checked by hand. |
| ☐ | During | Specified new gaskets/O-rings fitted; no liquid sealant on oil flanges. |
| ☐ | During | Ducts aligned and supported; fasteners tightened using specified procedure. |
| ☐ | During | Transit plugs removed; coolant and control connections completed where fitted. |
| ☐ | After | Initial idle, oil-pressure observation, and leak checks completed before load. |
| ☐ | After | Air, exhaust-gas, and oil leaks rechecked after first working period. |
| ☐ | After | Findings recorded and outstanding defects corrected. |
Common turbo installation mistakes
Most installation errors are easier to correct while the equipment is still in the shop. Use these checks during the final review before startup and release.
| Mistake | Why it matters | Better practice |
|---|---|---|
| Fitting the replacement before correcting the original fault | The same operating problem can damage the replacement. | Record the identified cause and completed repair. |
| Leaving fragments in connected components | Debris can remain hidden beyond the visible opening. | Inspect the affected path; clean or replace components before assembly. |
| Treating old duct oil as proof of a new leak | Residual contamination makes diagnosis unreliable. | Document and remove old oil; check other possible sources. |
| Skipping pre-lubrication or accelerating immediately | Startup proceeds without completing the prescribed lubrication checks. | Pre-lubricate, follow the startup procedure, and observe at idle. |
| Applying liquid sealant to oil flanges | Displaced material can obstruct an oil passage. | Install the specified new gasket or O-ring. |
| Forcing ducts into position | The installation carries avoidable strain at its connections. | Correct alignment and supports before final tightening. |
| Rotating housings to make a questionable unit fit | The part or orientation may be unsuitable for the application. | Confirm identification and obtain approved instructions from the supplier. |
| Releasing equipment without a return inspection | Leaks or connection movement may emerge during initial work. | Reinspect after the first working period and document the result. |
Parts for this guide
 8972089661 GT2560S Turbocharger Replacement for Isuzu 4HE1XS 165HP
8972089661
Turbocharger
On backorder — orders accepted
 GT37 GA-TI Turbocharger Gasket for Ford Powerstroke & Duramax LLY
FOR GT37 GA-TI
Gasket
On backorder — orders accepted
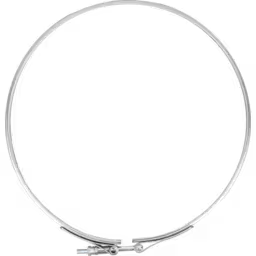 3590438 HX82 V-Band Turbocharger Part for Cummins QSK50/60
3590438
V-band
In Stock
 VI75-2 RHC7VW Turbocharger Replacement for Isuzu 6SD1-TC
VI75-2
Turbocharger
On backorder — orders accepted
Common Questions
New vs remanufactured turbocharger installation: does preparation differ?
Follow the same pre-lubrication and startup requirements used for a new unit. A remanufactured or rebuilt turbo still needs clean oil, clear passages, and the correct installation procedure. Check any additional instructions supplied with it.
How much oil should I use when priming a new turbo?
Use the oil type and quantity specified by the turbo supplier. Add it through the oil inlet and turn the rotor gently by hand as instructed. There is no single fill quantity for every turbocharger.
How long should the engine idle before taking a load?
Let it idle for several minutes, following the engine and turbo supplier's startup procedure. Confirm acceptable oil pressure and check for leaks before applying load. Follow any additional warmup or commissioning requirements for the equipment.
Is white smoke after turbocharger installation normal?
A brief white haze from preservative oil can be normal and should clear promptly. Persistent smoke, increasing smoke, or smoke accompanied by abnormal oil consumption requires investigation. Do not keep loading the engine to see whether it disappears.
Can I rotate the housings to match my piping?
Confirm the part number and application with the supplier before making changes. Different outlet positions may indicate the wrong variant. Housing orientation and actuator adjustments need an approved procedure for the exact assembly.
What should I record after replacement turbo installation?
Record the part number, engine identification, original failure correction, oil and filter changes, initial observations, and results of the first leak inspection. Keep photos of any recovered debris with the work order.
Can I reuse turbocharger gaskets?
Fit the new gaskets and O-rings specified for the assembly, with each seal seated correctly and its passage unobstructed.
For help confirming fitment, contact LeadTurbo with the turbo part number and your engine details.